I do my inking in Adobe Illustrator currently. I used to work traditionally in watercolor, and there was always the laborious transfer of the tight pencil sketch to the 140lb or 300lb paper to contend with. It was back-breaking and time-consuming. Plus, the final sketch always seemed to lack the life of my initial thumbnails. In recent years, I’ve skipped that process in favor of doing my inking digitally. It limits my size for traditional painting to the size my printer can print, but there is no limit to what size I can do something digitally.
The tight pencil is scanned in, cleaned up in Photoshop and imported into AI onto a template layer. I use a thin brush I created myself that’s very fine but has some settings that make it act like a fine line marker. Sadly enough, I’ve named it thin inking brush. Not very original, but know one uses it but me, so what difference does the name make.
I tend to work the inking in multiple layers, drawing the complete item where there are overlaps so that while I’m inking in Adobe Illustrator I can move individual items around if needed.
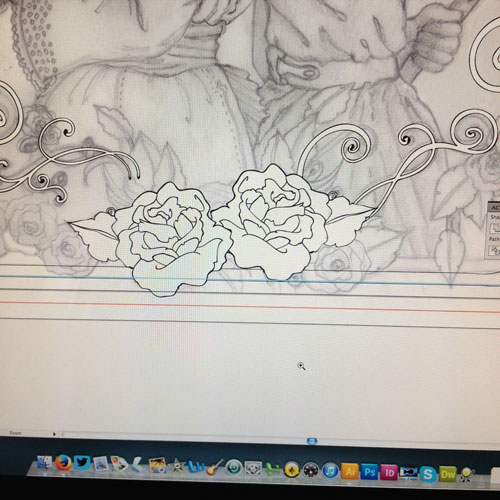 I started here with the rose ornamentation on the border. This is actually 3 layers, one for the petals, one for the leaves and one for the swirlies. I have these layers in a layer group folder. Each rose is also in an item group. As the image progresses, there will be so many items, that having an easy way to segregate them becomes essential.
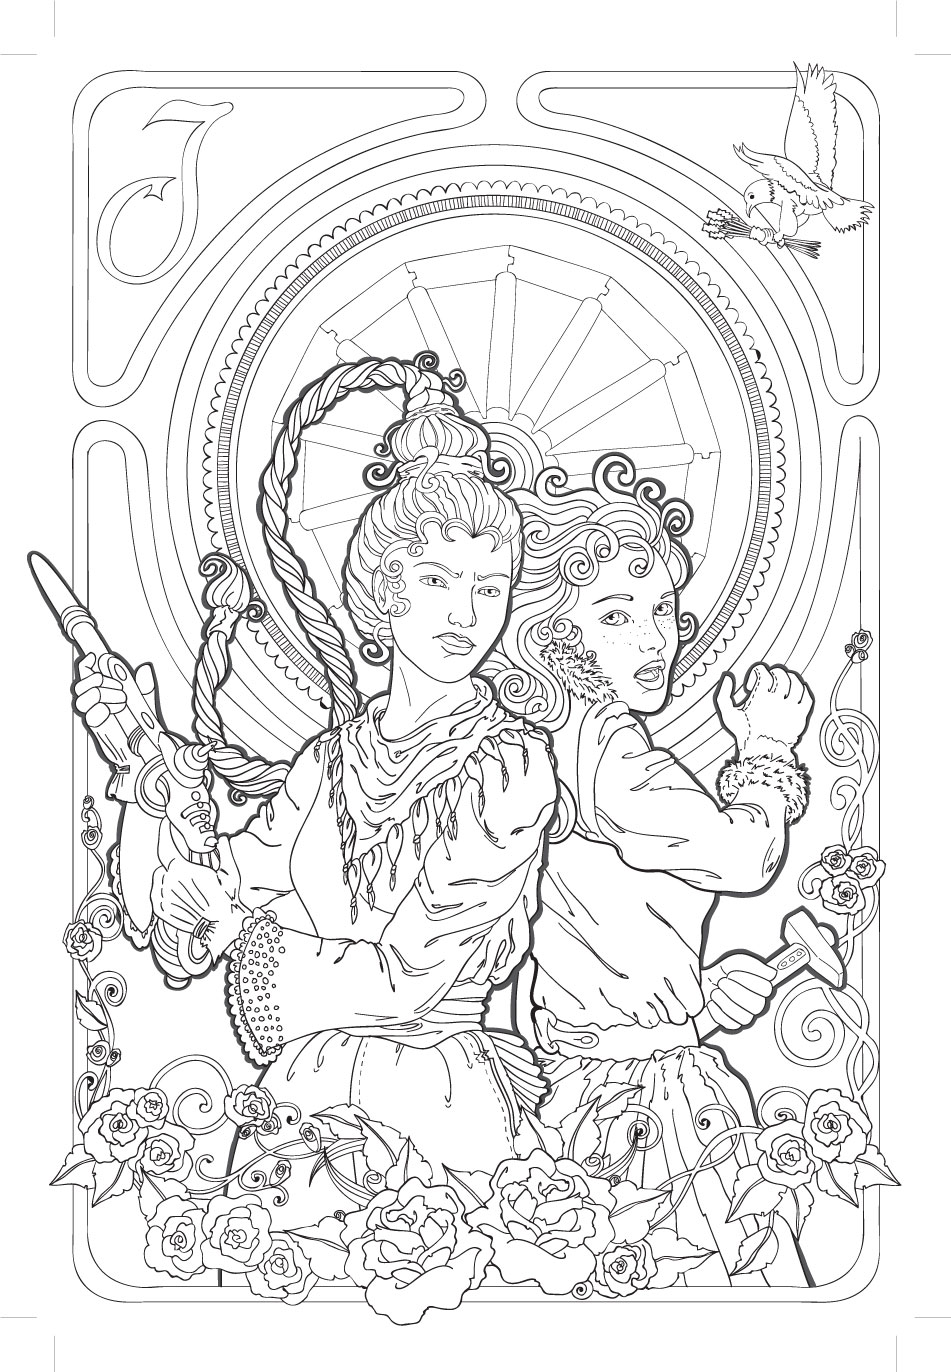

The entire inking in Adobe Illustrator process for this image took a week. That’s probably about 40-50 hours of work. I tend to break up my inking sessions with other chores, this allows me to rest my hand and to stretch my back. I do try to keep regular business hours, but since I have a home office, I end up working strange hours and weekends as well. It must mean I really love what I do, since I do it all the time. Ha-ha.
 RSS - Posts